
Engineering the perfect ghillie
The perfect ghillie does exist.

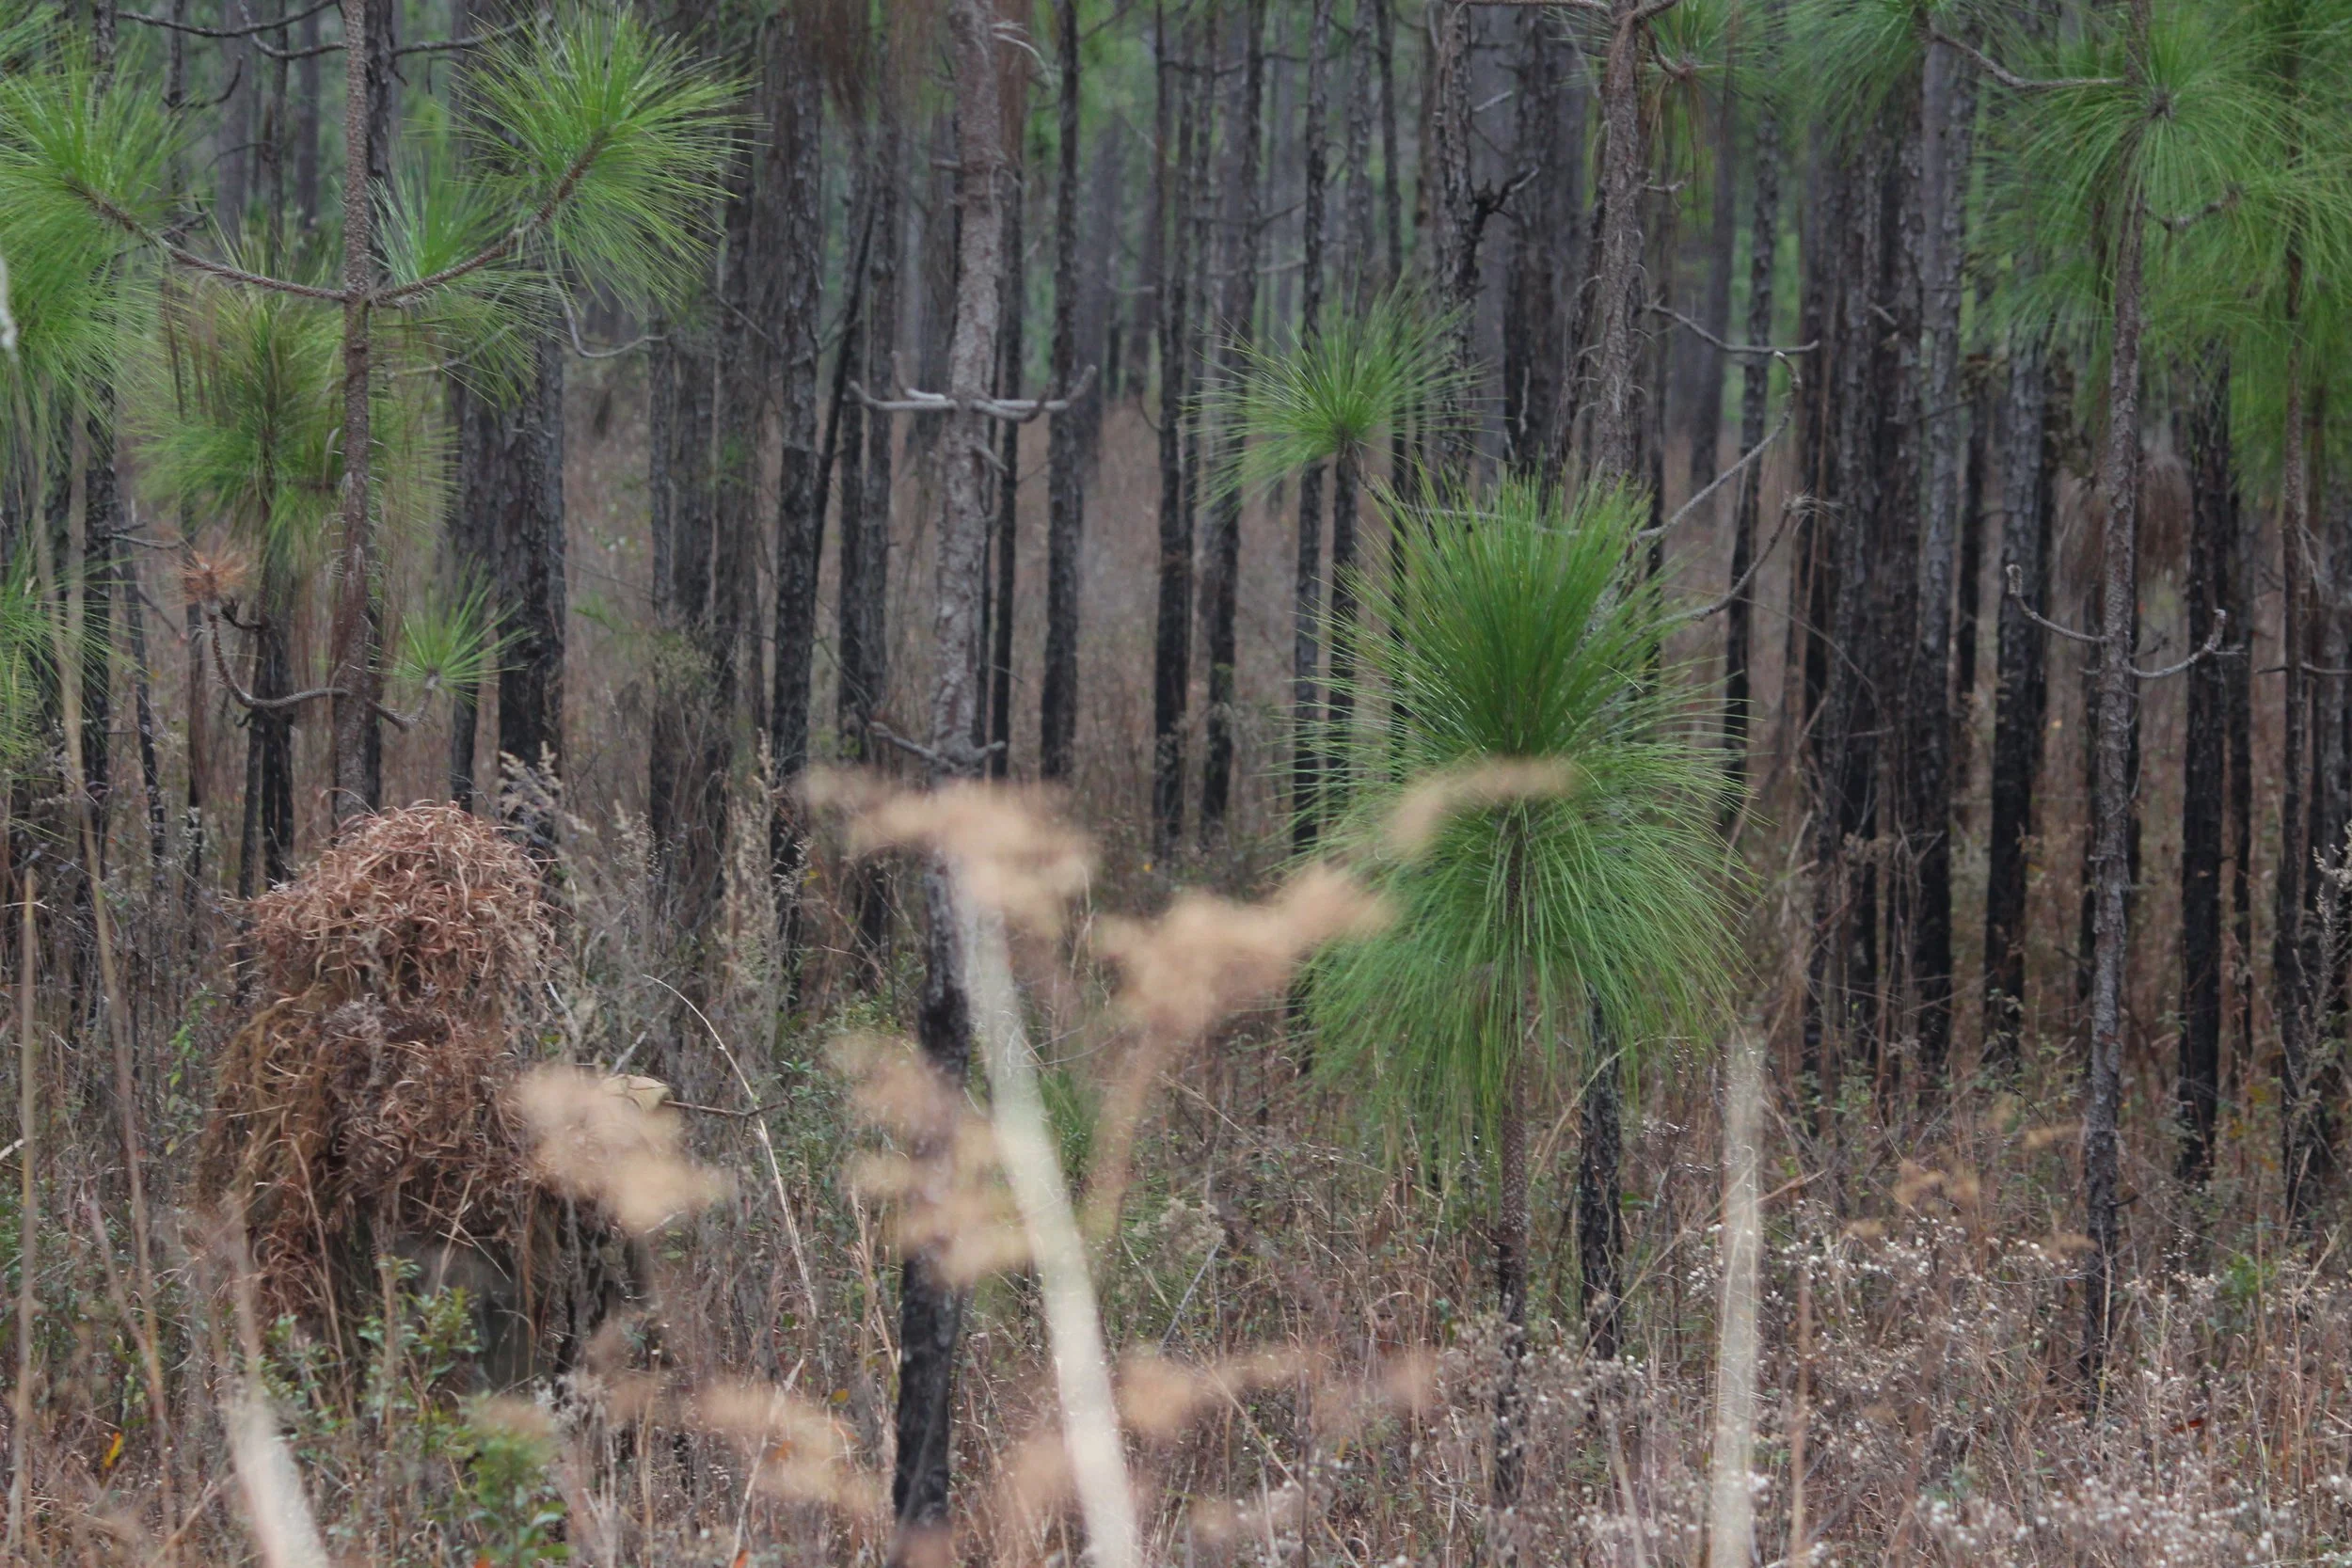
Sniper using ghillie suit to blend into surrounding
The issue? You have to make it.
Creating a custom ghillie suit tailored to your needs is essential for successful concealment. Follow this step-by-step guide to ensure your suit is durable, functional, and blends seamlessly with your environment.
Want the quick rundown? Here it is
Find your base-Boots, trousers, blouse, undershirt, gloves, and headgear.
Remove/Relocate/Replace unwanted pockets.
Reinforce key stitching with additional stitches or stronger thread(groin, inseam)
Ventilate as desired
Reinforce fabric in desired areas(knees, shins, elbows, forearms, chest)
Add netting(back, shoulders, glute, hamstring, calf, headgear)
Protect stitching-using shoe-goo/gorilla-glue/seam-grip.(any strong latex based adhesive)


Step 1
The base layer
Your base should be one full size up from a typical duty uniform to allow for equipment to be hidden within (like the camelbak) as well as to eliminate some of the innate human shape.
Shown is the scorpion W2 pattern issued by the US army. Its abundance allows for a base layer to be acquired for cheap. Those issued for deployment purposes are typically fire retardant in nature and marginally more breathable.
Its colors and patterns are irregular in nature and cover a very broad spectrum of operational environments.
This makes for a good place to start.
Step 2
Remove/Relocate/Replace unwanted pockets
Many of the pockets on the standard uniform are not helpful. This is especially true if you are turning it into a ghillie.
You won’t be able to use the chest pockets (so move them or get rid of them)
Shoulder pockets… you may use them but probably just because you have them, not because they are convenient. Remove them, or move them somewhere useful (like inside the blouse or down to the wrist)
Ankle pockets: You probably only use that as your tactical dip can holder anyway. so move them. they are a good size, so place them in an area you will use more readily(One that won’t get wet if you step in a puddle)
Step 3
Reinforce key stitching with additional stitches or stronger thread(groin, inseam,)
The number 1 reason for a blowout is weak stitching. These two locations are notorious for splits, and although it won’t end a mission, it makes you more vulnerable. So go ahead and throw some extra stitching in… or better yet, get some Kevlar sewing thread.
Step 4
Ventilate as desired


Ventilation may or may not be required. This is dictated by your operating environment. A well-made mesh is a must to preserve the longevity of the suit. You may cut out the entire back as shown in the images, or cut smaller strips out to limit airflow. Armpits are a subtle way of allowing additional airflow if you don’t want to vent the back.
Ventilation of the trouser is a personal preference. If you choose to increase airflow in the pant, it is essential to note that you are eliminating a barrier between you and irritants.
I personally only have one pair of ventilated trousers and three without.
A ghillie tends to be warm, so some ventilation is suggested, but there is no standard to the amount.
Step 5
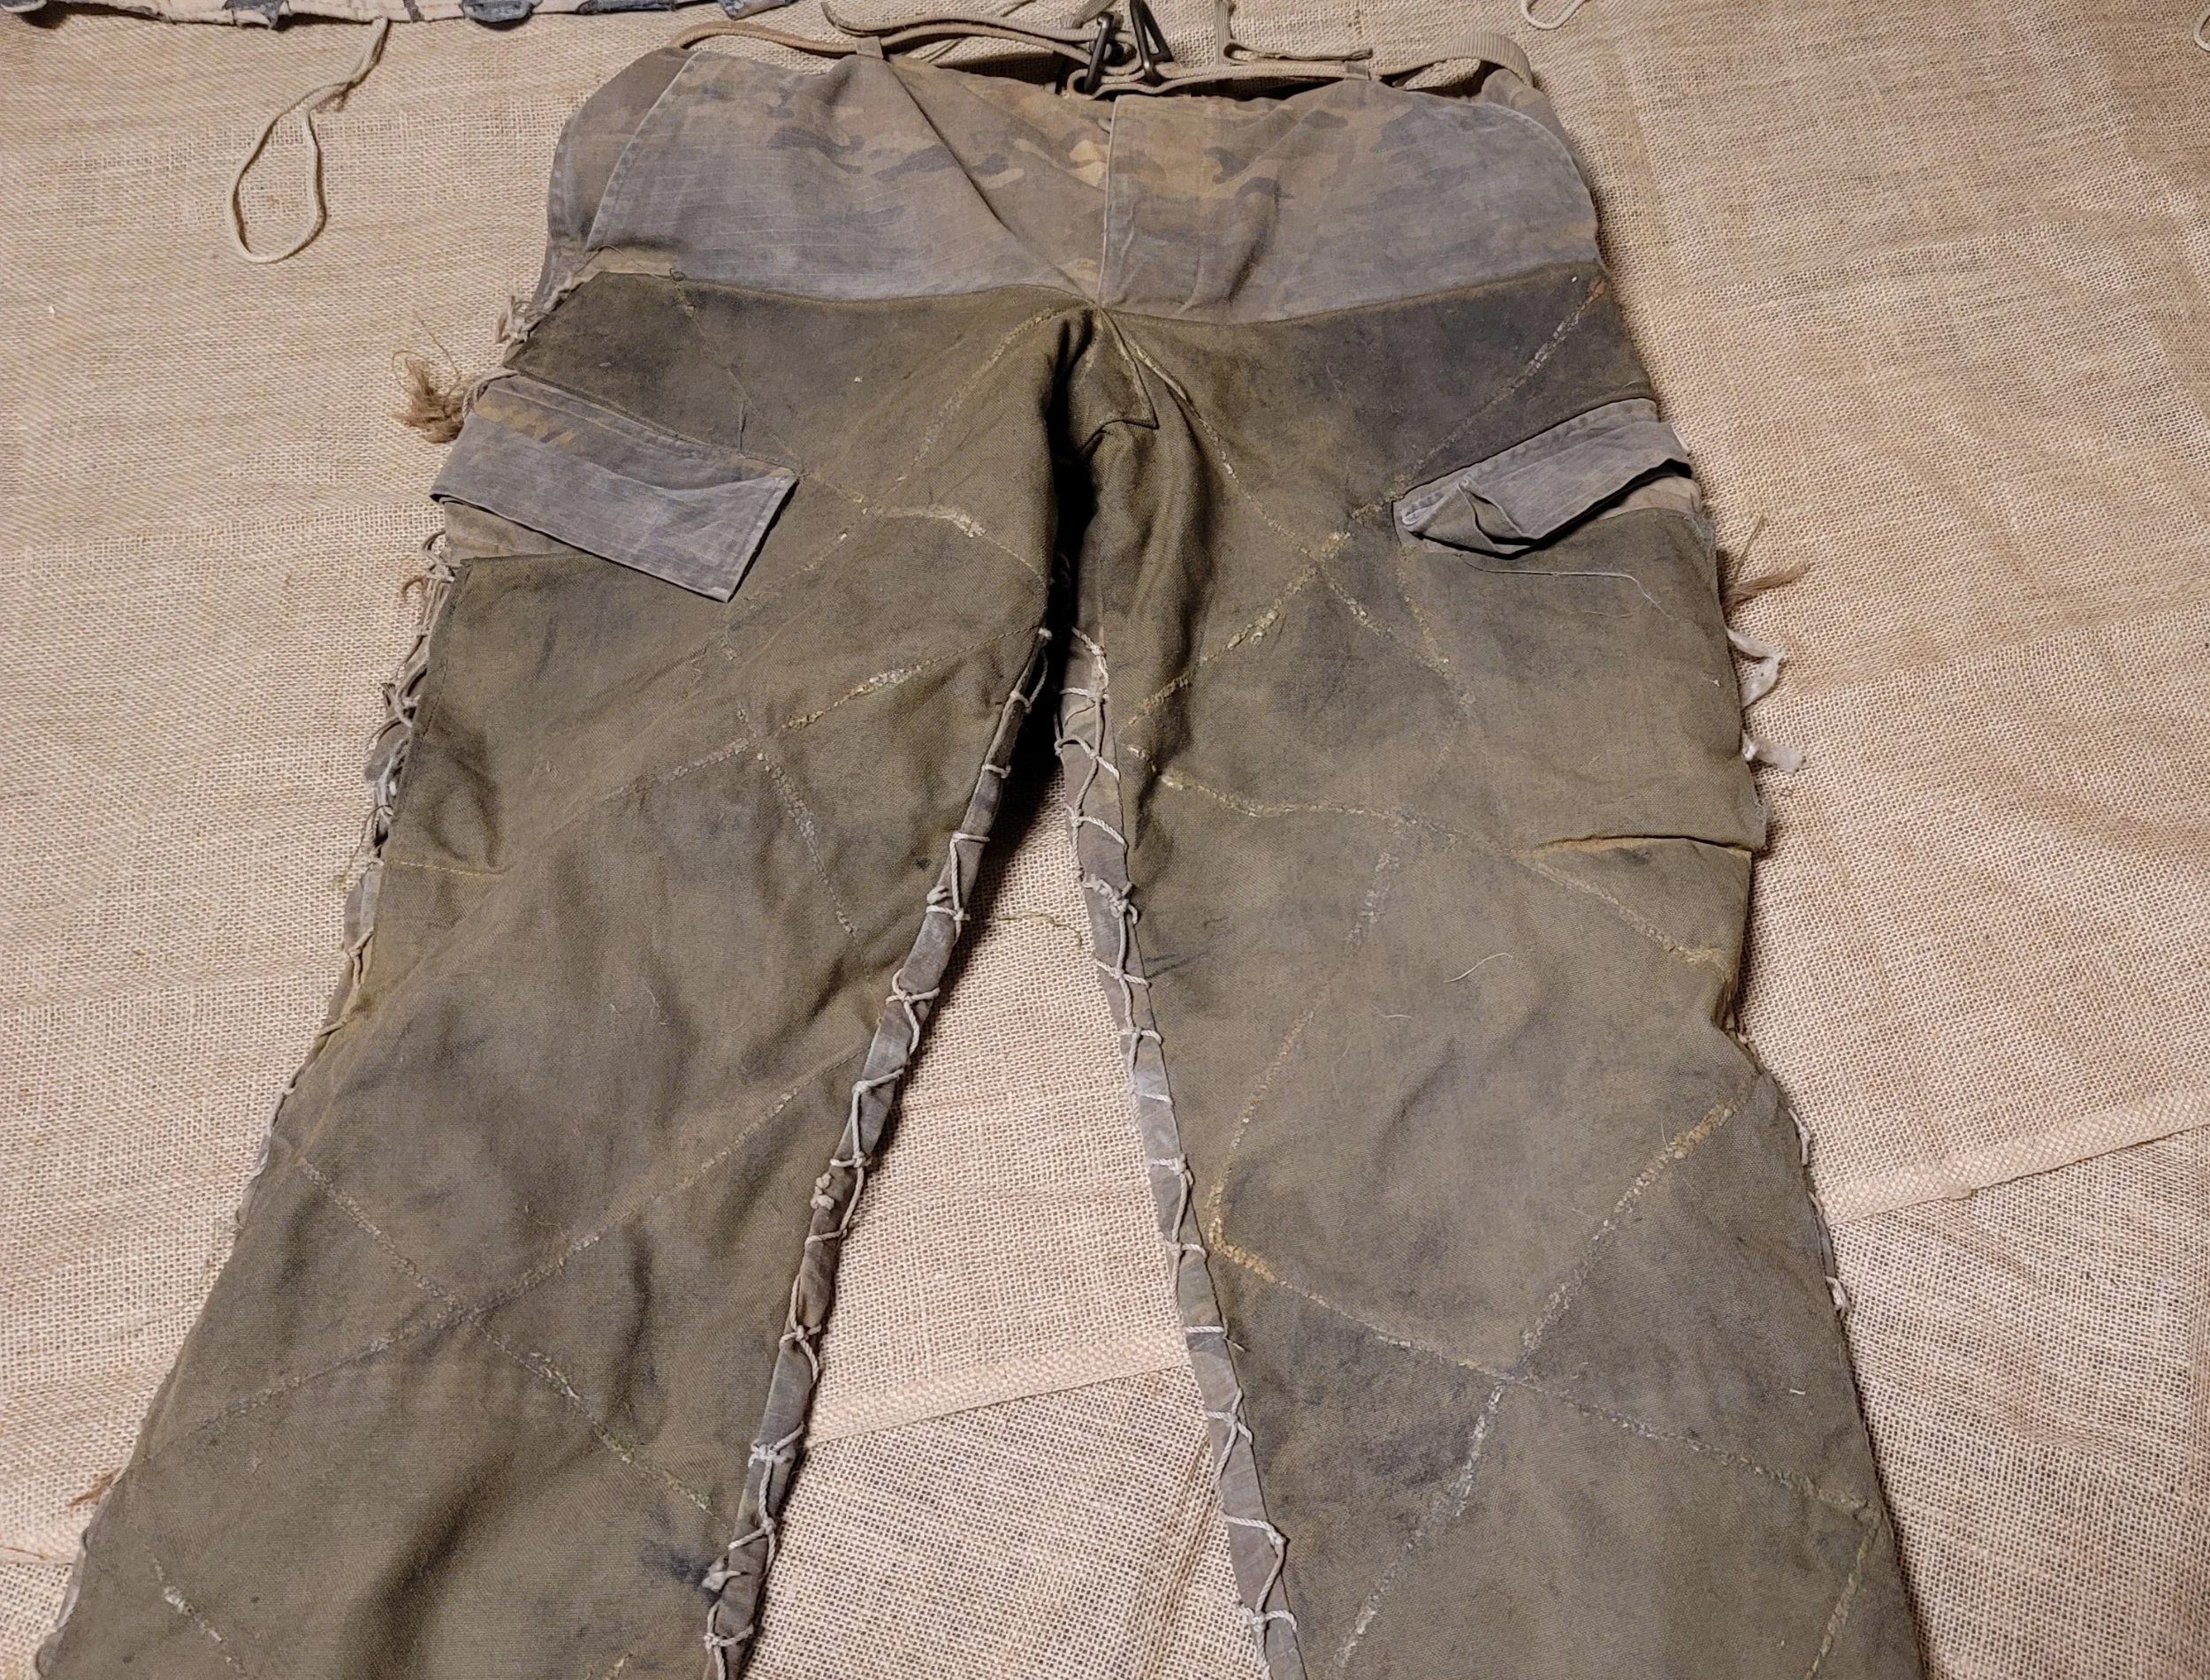
Reinforce fabric in desired areas(knees, shins, elbows, forearms, chest)
500+ denier Cordura should be used to reinforce any area that is likely to be dragged across rugged terrain. You can purchase this, or use an old duffel bag. Stitching this around the perimeter of the fabric will hold it in place. Then an additional “X” patterns. This achieves 2 things:
1: Additional security, even if punctured, it prevents you from losing the whole piece.
2: Holds the fabric exactly where you want it, to prevent bunching
As we know walking through briars sucks. So add some extra fabric to your quads/shins to prevent irritation if you want. Do note that this can effect mobility, so balance is key.
Step 6
Add netting(back, shoulders, glute, hamstring, calf, headgear)
Now we have gotten to the part that makes the suit viable for concealment. The addition of netting allows for the wearer to add attachment points for natural and artificial vegetation.
Blouse
Netting should be measured and affixed to the back of the blouse covering the entirety of the back from Lat seam to Lat seam.
I personally cut the seems of my bases and attach the netting in between the front and back pieces to make a more streamlined look with less ability to snag.
The netting should drape over the shoulders and extend down the arm to cover your front deltoid entirely.
Trousers
Netting should cover the back of the trousers only. It should reach from the rear pocket to at least the bottom of the calf. (You may cover from the belt to the break if you wish, but it is overkill more often than not as your artificial vegetation will fill the gap from the calf to the break, and your blouse will cover your trousers to about your back pocket flap.
Headgear
A large piece of netting should be thrown over your headgear. This piece of netting should fall down to the pupil in the front and have enough to cover your optic while lying in the prone to the rear.
Remember: The headgear is the most versatile piece of the suit. Treat it as such. This single piece of clothing can eliminate as many as 4 of the 5 “human Vs”
Do not skimp on stitching or netting.
Step 7
Protect stitching-using shoe-goo/gorilla-glue/seam-grip.(any strong latex based adhesive)
You will be abusing this piece of gear. So reinforce every single stitch you can find. Do this by liberally applying a latex based adhesive with a cotton swab.
You use a cotton swab to prevent these materials from getting on your persons. But also to spread the adhesive.
Sniper stalking


Once you have completed the preceding 7 steps, there is still some more work to do.
But there is good news! The suit itself is ready.
There is still some refining to do.
Spray paint the suit in desired locations(any large chunk of color… as in the canvas/ any location covered in latex adhesive)
Add artificial vegetation
Add natural vegetation tie-downs.
*These topics will be covered next