
Marksmanship progression
Marksmanship is a training strategy that is both progressive and systematic. Shooters often will confuse qualified and proficient, which are unfortunately very different.
Qualified means we can do the job.
Proficient means we are good at the job.
It SHOULD look something like this:
Preliminary Marksmanship Instruction and Evaluation (PMI&E):
This phase is intended for the marksman to understand fully:
Weapon handling safety:
Treat all guns as if they are always loaded.
Never let the muzzle point at anything that you are not willing to destroy.
Keep your finger off the trigger until your sights are on target and you have made the decision to shoot.
Be sure of your target and what is behind it.
Employment:
How to use the weapon platform and in what circumstances the weapon should be used.
And Operation:
The technical knowledge that is necessary to make the weapon function and correct malfunctions.
PMI&E also includes the proper use of optics (day view, thermal, and night vision devices), aiming devices, laser range finders (LRF), and ballistic solvers. In addition, an explanation of the shot process needs to occur, as PMI&E will encompass everything before the shot is fired.
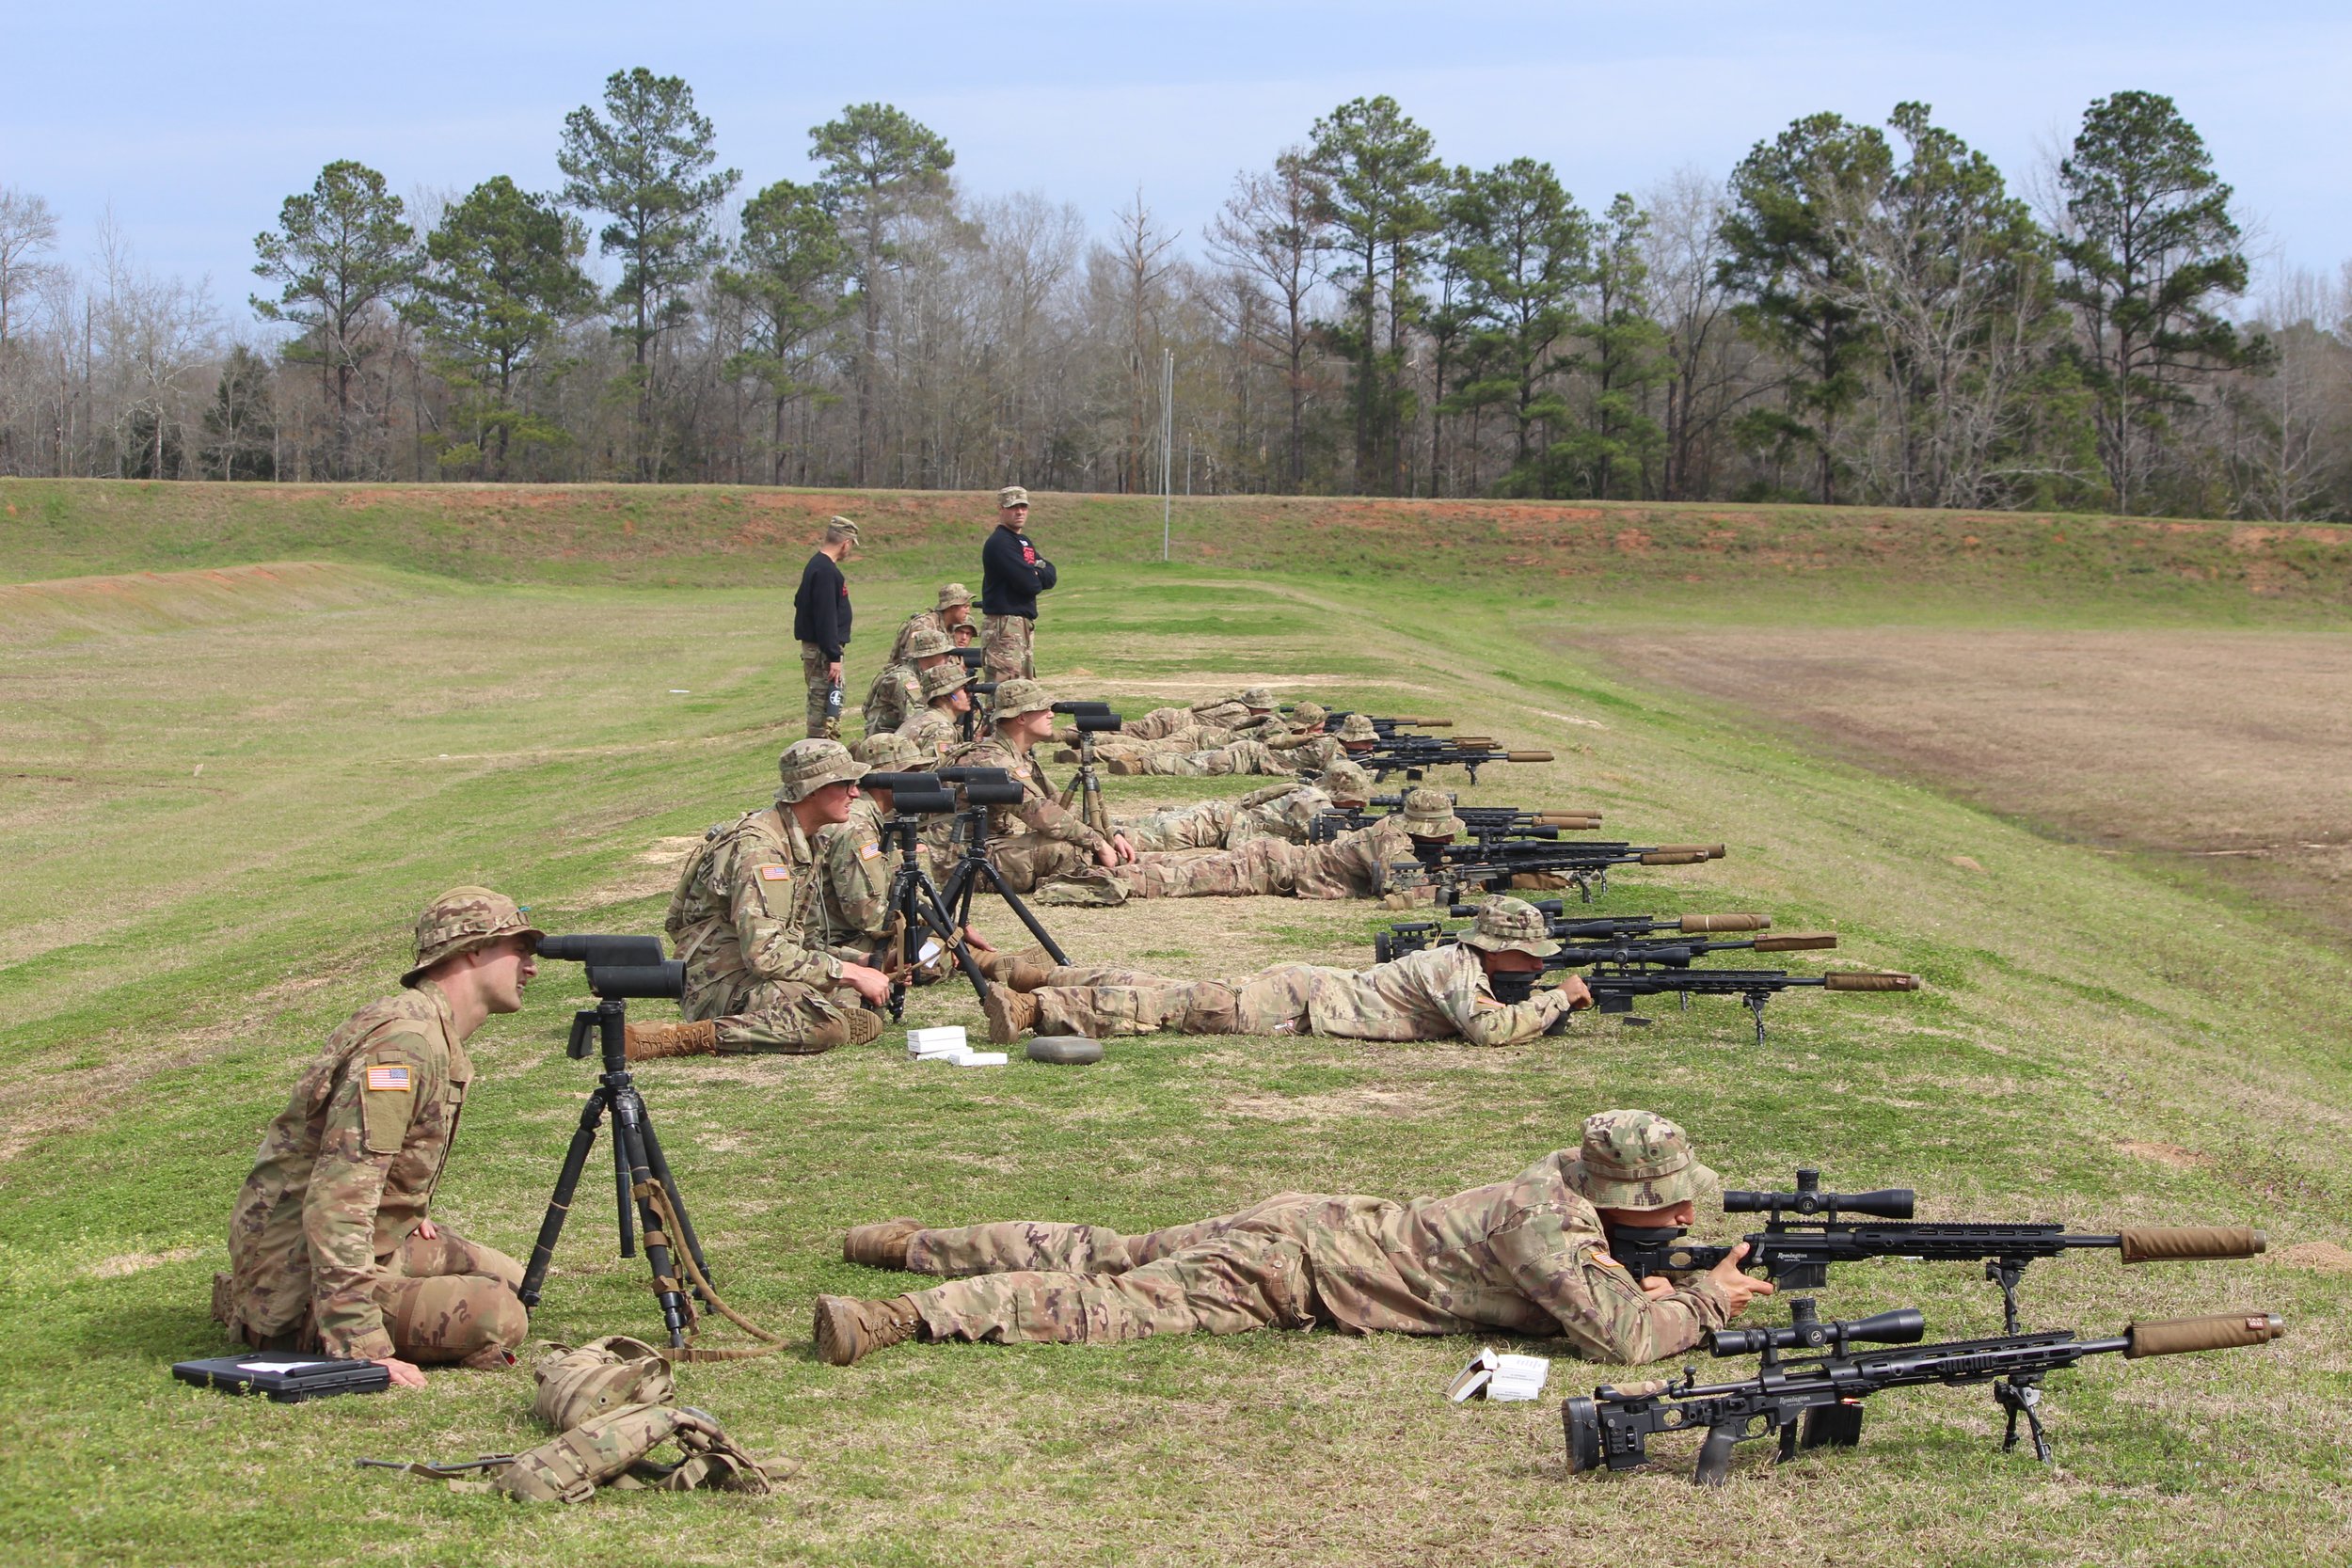
Grouping
Then comes the grouping exercises. Initially, we should not be concerned about where the rounds impact the paper target as long as they're close. What we SHOULD be concerned with is the size of the shot group. Coaches or evaluators should have a template handy to ensure that the trainees are within the weapon's capability. (For the traditional M4, this would be roughly 4cm or 1.57 inches at 25m). Please pay attention to the shot group, as it can tell a story of what the shooter is doing. Then we group again. This time we care about placement and group sizes at 100 meters/yards or whatever distance you decide to zero. Developing those fine motor skills and developing repetition will contribute to a perfect shot. Then, when you think you are done, perform one more iteration of grouping to confirm both consistent execution of the shot process and to confirm the location of the zero.
Zeroing and obtaining the muzzle velocity are critical parts of the overall shooting process.
Getting a baseline for elevation holds.
The options
Set up targets between you minimum and maximum distance and gather information based on the engagements of each one (Data on Previous Engagements [DOPE])
Use a ballistic calculator to predict the round's trajectory at a given range.
Ballistic calculators require a bit of information so input that and then lastly; find your Muzzle velocity. To do that, we can either use a chronograph like the Lab Radar or Magneto Speed
We can also confirm the muzzle velocity by truing at a prescribed range. This is achieved by finding the Lead edge of the transonic range by using the below equation. Once found you want to find the distance that particular Muzzle Velocity occurs and place a target at the corresponding range.
1061 + Temp (ex. 60 degrees) = 1121 fps
1121 fps is Speed of Sound for a 60 degree day
1121 x 1.2 (MACH) = 1345 fps
1345 fps = Lead Edge Remaining Velocity (RemV)
Note that if we accept an imperfect zero, we accept a shot at a distance that can potentially, nay, will be outside the weapons tolerance. Do not accept anything other than a perfect weapon zero.
Known Distance Fun
Moving on, let's discuss known distance targets. A known distance range will be great practice for understanding what the bullet is doing during its flight. Understanding environmental effects and how it affects the bullet can be witnessed on the range. This allows shooters to predict the aim point for their assigned platform. To ensure the shooter becomes proficient with known distance engagements, use the smallest target possible during this time. The tiny target creates confidence that they understand the relationship between their elevation hold, their wind hold, and the actual impact of the round.
Unknown Distance Targets
It's time to advance to unknown distance engagements. Most likely, this will all be performed in the prone firing position. Shooters should become good and confident with this shooting before advancing to an alternate firing position. Initially, we should use standardized targets with known proportions to allow for training opportunities in Range Estimation. The secondary effect of using a Standard IPSC or E-type silhouette is: It Creates room for error while still instilling confidence and practicing on human-sized targets.
Now we exit the Crawl phase with Alternate position firing
You may ask, "What is an alternate firing position?" Simply put, it is any position besides the prone firing position.
It is important to group using those alternate positions to see how applicable they are in a real-world scenario. The process previously discussed would be applied for alternate positional shooting. This will build proficiency and confidence in one's shooting ability.
End the Walk phase with a qualification
All these practice fires will eventually lead you to a practice qualification. A practice qualification should challenge shooters with stationary targets at varying exposures. You might ask, "How far should I shoot my practice qualifications?" It would be best to extend the range no further than the lead edge of the transonic. The practice qualification should include a variety of skills such as prone, alternate positions, known and unknown distances, partial exposures, and concealment shooting. Of course, all range training should progress to this type of shooting. The practice qualification should prepare the shooter for the actual qualification. The qualification must demonstrate the shooter's performance with their sniper weapon system.
Then you can qualify if you'd like. According to TC 3-22.10 SNIPER, the qualification for a sniper is a four-step process.
Those steps are:
A. Group, Zero, and True
B. Alternate Weapon Fire
C. Tactical Engagement
D. Spotting
This is only a portion of the marksmanship program. Think of these skills as building blocks where one builds on top of another. Remember, after the day engagements, everything else is at night. A goal to strive for is to speed things up and increase complexity and engagement criteria. A sniper section can plan a range once a month with a thorough and well-thought-out marksmanship plan.
The RUN Phase
This should only occur once the shooters are considered “Proficient” and not just “Trained.”
Moving Targets
Angle Fire
Obstacle Clearance
These three additional exercises can be further compounded together and with previous aspects to increase proficiency.
Examples of this could be
Alternate Position Moving Targets
Alternate Position Angle Fire
Real-World “Loophole” Shooting
Stress Shoots
Scenario Shoots
I realize that this "takes a lot of time," and the US Army Sniper Course (USASC) takes seven weeks to achieve this. However, the USASC also has the luxury of dedicating those several weeks to sniper training. There is a constant battle for time, land, ammo, and personnel in an operational unit. If you are in charge of a sniper section, you need access to the unit's long-range training calendar. Look for any opportunity to schedule the training that your sniper section needs. The sniper squad leader, usually the sniper employment officer, must plan and enable the snipers to train, practice, and qualify.
Armchair has a two-week training plan that will prepare you to attend the sniper course. We will also update you with a long-term training recommendation.
Remember, you can have excuses, or you can have results.
Pro tip: Get off your damn belly and dry fire from alternative positions.
